A Creative Prop for Vertical Ventilation
By Dustin Clay
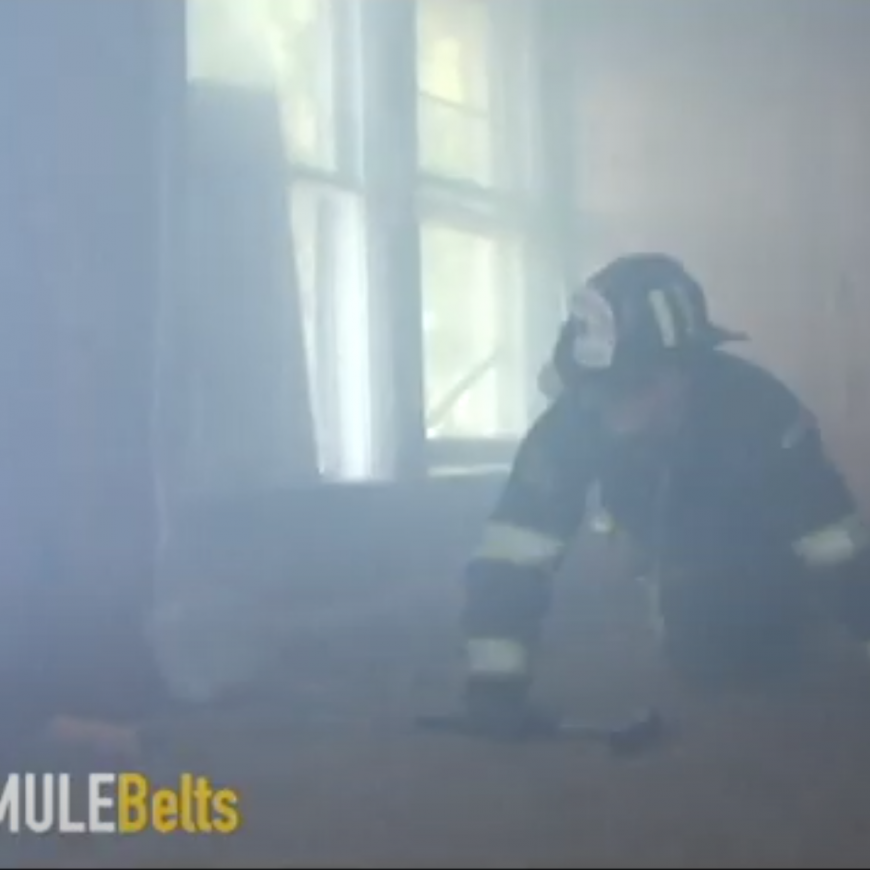
In an ideal world, fire departments would have unlimited access to structures to train firefighters on vertical ventilation. Unfortunately, that is not the case, and structures to train on roof operations and saw technique are scarce in the fire service today. We must train so that muscle memory takes over and cuts on a roof are done efficiently and precisely at a moment’s notice.
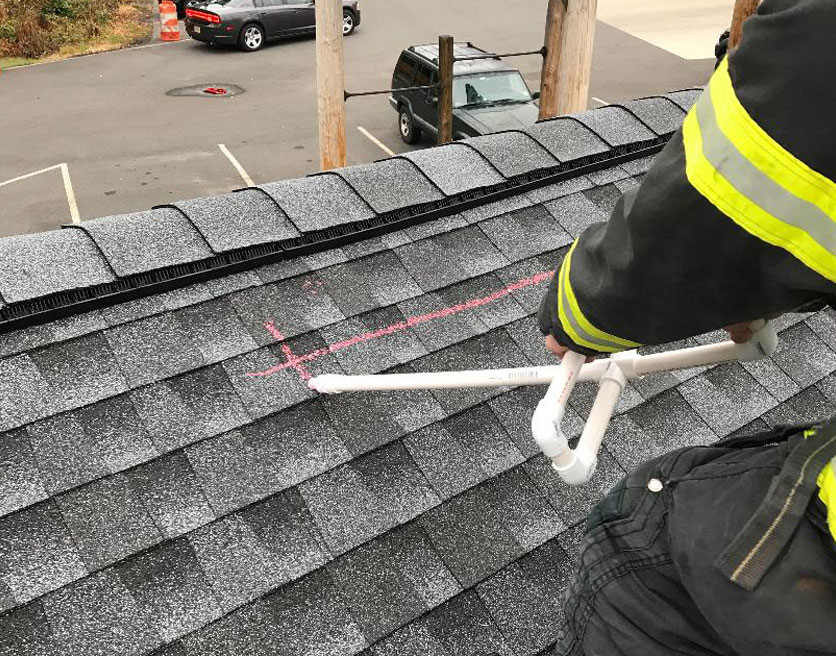
A few years back, I was introduced to the PVC saw by a friend of mine who was trained on the West Coast with it. (The original designer of this saw is unknown to me and I take no credit for it however this training aid has proven useful to many firefighters in my department and throughout the area.)
The PVC saw allows for firefighters to have continuous practice on vertical ventilation using constructed PVC piping and regular sidewalk chalk. This training aid allows for personnel who are new to the task to start on a parking lot to perfect their “cuts” in a controlled environment.
We have found that practicing the “cuts” allows for personnel to control their center of gravity and thereby obtain quicker and smoother movements. Once the basic principles of the saw are understood on the ground, personnel can now to move to the roof to practice this skill on an elevated pitch.
Personnel not only learn the skills of vertical ventilation but they also hone their everyday skills of basic ladder work. These elements are both critical aspects of being on the roof.

All of the pieces are constructed of ¾-inch PVC and consist of:
1 6-foot piece of PVC
1 coupler with threads on chalk side
6 90º elbows
1 “T”
1 four-way cross
Cut the following lengths:
1 16- or 20-inch (or whatever your bar lengths are)
4 6 inches
3 2-inches
2 6.5-inches

Start out by making the cuts listed above. Once all cuts are made, start by connecting the 6.5-inch pieces to the 90º elbows. Connect the 90º elbows together by using the 2-inch pieces; both 6.5-inch pieces should be facing the same direction. Apply the “T” to the end of one of the 6.5-inch pieces and the cross (4 way) to the other 6.5-inch piece. At this point, you will need to connect the four 6-inch pieces to the ends of the “T” and cross, leaving the forward-facing end of the cross open. Now you are ready to place the remaining elbows on the ends facing towards each other and connecting them with the remaining 2-inch pieces.
Sand or lead can now be used to fill the saw, or you can leave it empty to make for easier transport. If filled, we recommend caulking the remaining open slot on the cross to prevent the sand or lead from leaving the main area of the saw. Make sure to caulk back far enough so that you can still insert the 16- or 20-inch piece in the cross.
You can now add the 16- or 20-inch piece to the open slot of the cross and place the coupler on the end, making sure the threaded end is facing away from the saw. We apply glue to all the PVC connections except for the coupler, in the event the chalk breaks off inside it. This will assist in holding all pieces together and keep the sand from leaking out of the connections.
Once the PVC saw is fully constructed, it is ready to be used.


Dustin Clay is a firefighter with the City of Manassas (VA) Fire and Rescue Department.
Read More Here: https://www.fireengineering.com/2019/09/28/478921/chalk-and-pvc-a-creative-prop-for-vertical-ventilation/